Cart
0

Vinyl wrapping a car or any surface requires patience, precision, and the right technique. While it may look complicated at first, following a structured process makes it much more manageable—even for beginners. This step-by-step guide walks you through the professional vinyl wrap installation process from start to finish.
Step 1: Plan Your Project
Before you begin, take time to plan the entire wrapping process.
- Decide which parts of the vehicle or surface you want to wrap
- Inspect the surface for dents, scratches, or imperfections
- Ensure you have enough vinyl material for the job
- Choose the right type and finish of vinyl
Pro tip: Always add a little extra vinyl to account for mistakes and trimming.
Step 2: Clean the Surface Thoroughly
Surface preparation is one of the most critical steps in vinyl wrapping.
- Wash the surface with soap and water
- Use isopropyl alcohol to remove grease, wax, and residue
- Wipe everything with a clean microfiber cloth
- Make sure the surface is completely dry
A perfectly clean surface ensures strong adhesion and prevents bubbles or lifting later.
Step 3: Remove Obstacles (If Needed)
For a professional finish, it’s often necessary to remove certain parts like:
- Door handles
- Badges or emblems
- Trim pieces
- Side mirrors (in some cases)
This allows the vinyl to be applied smoothly and tucked neatly for a seamless look.
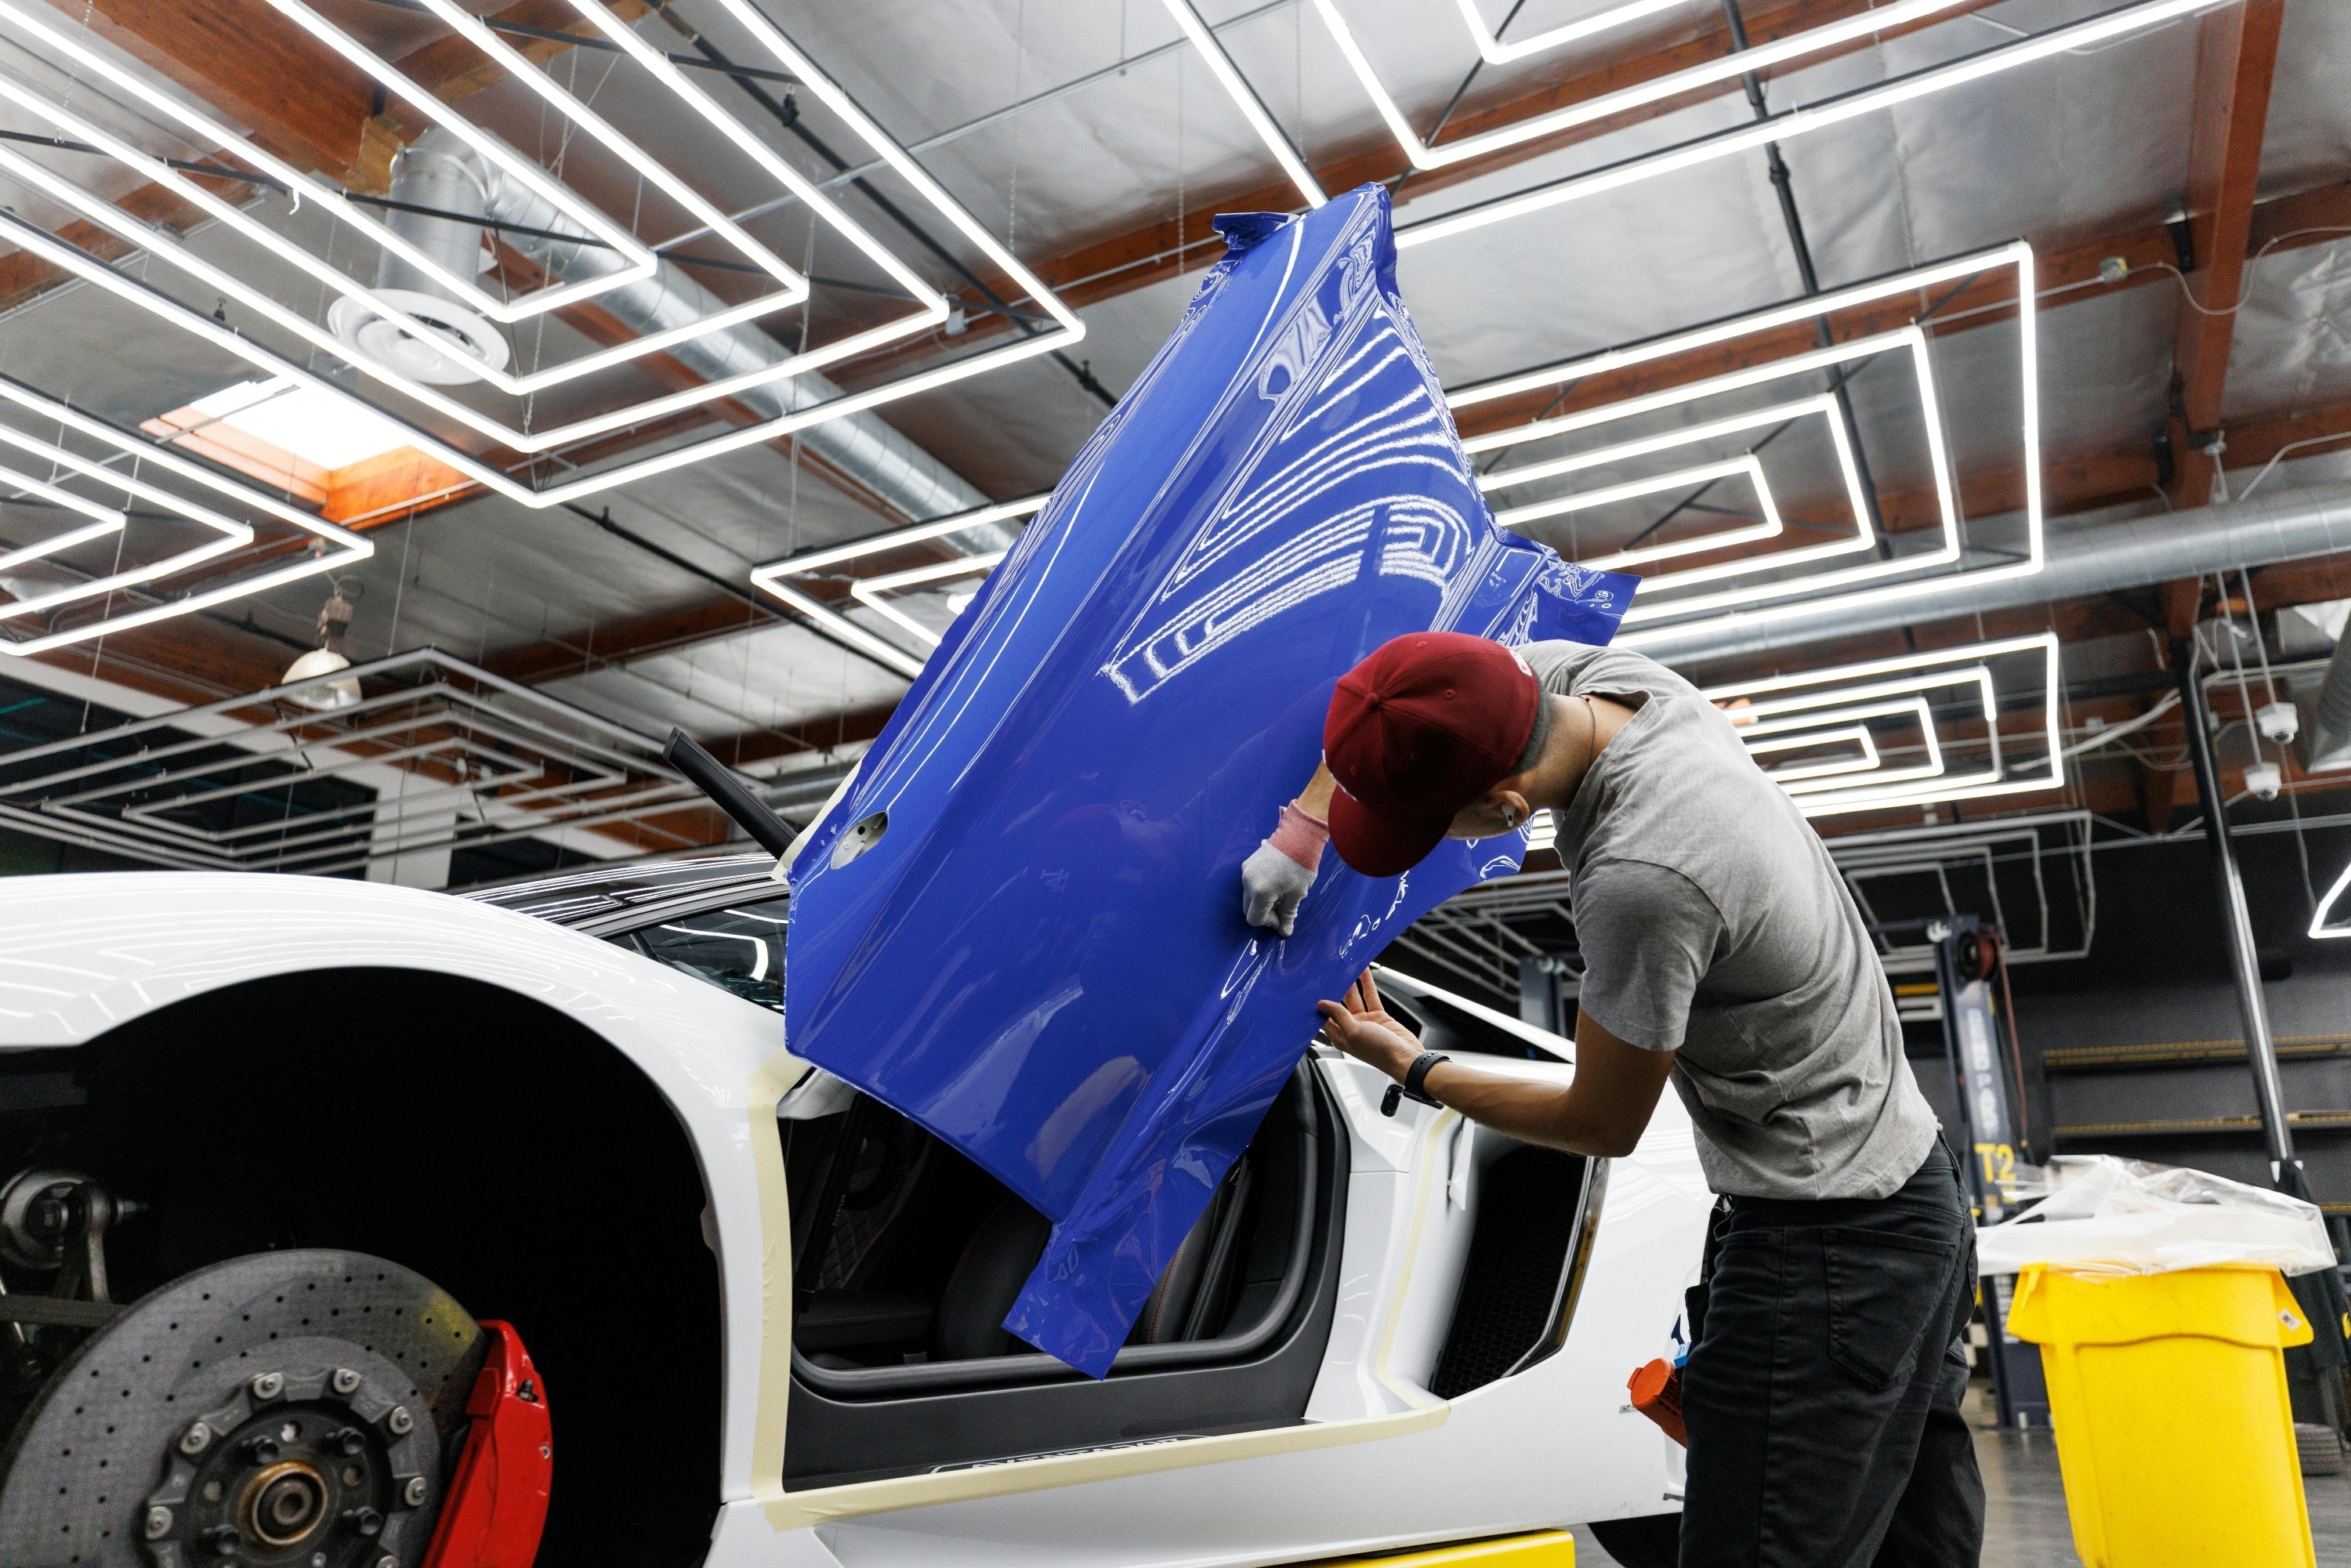
Step 4: Position the Vinyl
Carefully place the vinyl over the surface without removing the backing completely at once.
- Use masking tape or magnets to hold the vinyl in place
- Align the vinyl properly before sticking
- Ensure it covers the entire area with some extra for trimming
Tip: Always double-check alignment before final application.
Step 5: Apply the Vinyl Gradually
Start applying the vinyl from one side and work your way across the surface.
- Peel the backing paper slowly
- Use a squeegee to press the vinyl onto the surface
- Work in small sections to avoid bubbles and wrinkles
- Apply consistent pressure while smoothing
Keep the application controlled and steady for the best results.
Step 6: Use Heat for Curves and Edges
A heat gun or hair dryer is essential when dealing with curves, corners, and complex shapes.
- Apply heat to make the vinyl flexible
- Gently stretch the material to fit contours
- Avoid overheating, which can damage the vinyl
- Use heat to activate the adhesive for better bonding
Pro tip: Heat and stretch gradually rather than forcing the vinyl.
Step 7: Remove Air Bubbles
Even with careful application, small air bubbles may appear.
- Use a squeegee to push bubbles toward the edges
- For stubborn bubbles, gently lift and reapply the vinyl
- Use a pin to release trapped air if necessary (very carefully)
Smooth out the surface until it looks clean and uniform.
Step 8: Trim Excess Vinyl
Once the vinyl is fully applied, trim the extra material.
- Use a sharp precision knife for clean cuts
- Cut carefully along edges and seams
- Avoid cutting too deep to protect the surface underneath
Clean trimming is key to achieving a professional appearance.
Step 9: Tuck and Secure the Edges
Edges are the most vulnerable areas, so proper finishing is crucial.
- Use edge tools to tuck vinyl into gaps and seams
- Apply heat to seal the edges properly
- Press firmly to ensure strong adhesion
Well-finished edges prevent peeling and extend the life of the wrap.
Step 10: Final Inspection and Finishing Touches
After installation, inspect the entire surface carefully.
- Check for bubbles, wrinkles, or lifting edges
- Reheat and smooth out any imperfections
- Wipe the surface gently with a microfiber cloth
Allow the vinyl to settle for 24–48 hours before washing or exposing it to harsh conditions.